
For once I thought of taking some photos while I was painting, so here it is – a little step by step of how I paint these guys. Click the images to see them in a larger size.

1. I start with the first light washes, very diluted, making sure to leave white areas white. Everything that´s not supposed to be white in the end gets this first wash.

2. After the first wash dries, I go on with slightly darker washes. In cases like this, when I´m working at home, I help the washes to dry with a hair dryer. I´m too impatient to wait for them to dry…

3. I keep adding darker washes, trying to keep in mind that the light in the image comes from above, so the man´s shoulders and the top of his hat should be slightly lighter than the rest. I found some of the darker marks got a bit too dark here, so I softened them with a brush with clean water after I took this photo. The spattering happens sometimes when I lift a very wet brush a little too hastily so the tip kind of throws some colour off. It´s easy to avoid by taking it a bit slower, but I kind of like those little accidents.

4. In the end I add some more darks and details, trying to find some kind of balance in the picture. This is pretty much the finished state.
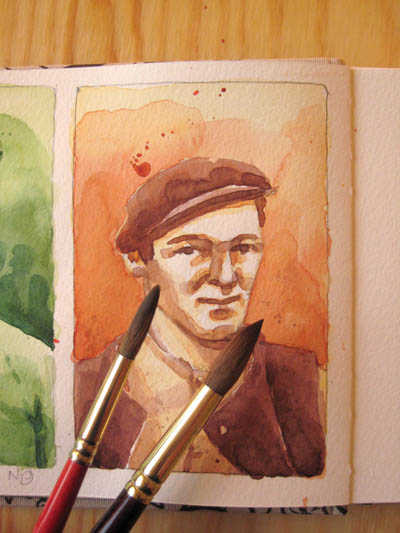
5. I don´t like working with tiny brushes, it´s so easy to get caught up in details if you do. Here are the two brushes I use for these working men series, the smaller one is a Winsor & Newton Sceptre Gold II no.9, the larger one is an all time favourite, an old Kolinsky sable brush. I´ve had it for at least ten years and all the writing on it is gone, so I don´t know what size it is. I only use the smaller one towards the end, for tweaking details, I try to do as much as I can with the bigger brush.
The image is 10 x 15 cm (3.9 x 5.9 inch) wide, for comparison.
10 x 15 cm, pencil and watercolours on Canson Montval watercolour paper, rough grain.